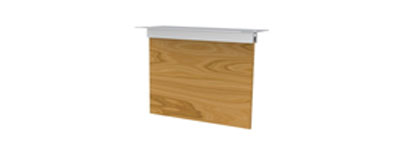
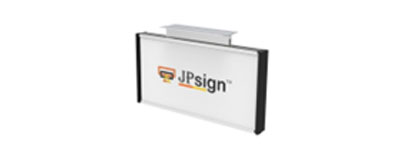
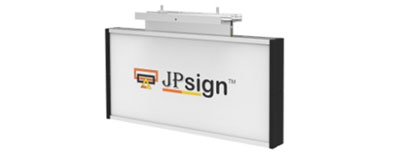
CU Ceiling Mounted Double Sided Sign Holder
MODEL: CU40C & CU60FC
JPSIGN’s ceiling mounted signs are double sided, using CU sign’s components such as aluminum stands, wall caps, combo bracket and other accessories which is fast, easy and simple to assemble and install, ideal for room identification, emergency signage and more.
The signs with the removable caps have the advantage of easy changes of inserts at any time, accepting varieties of insert materials such as paper, metal, plastic and our inkjet/laser printable film.
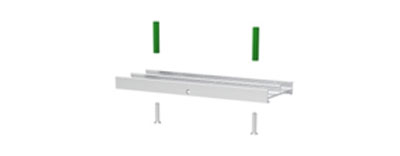
Assembled CU ceiling stands are available to be made to order, simply install 2” CU stand onto the wall by 2pcs KA4*30 screws then lock assembled CU flag stands with inserts by 1pc M3*5 screw.
  |
|
||||||||||||||||||||||||||||||||||||||||||||||
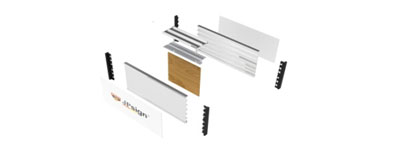
Ceiling Sign Assembly
1. Assemble 2 sets CU sign holders with combo bracket and fiber/plastic board.
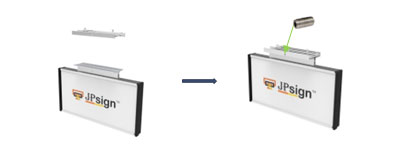
1.1 Glue the fiber or plastic board onto the combo bracket.
|
1.2. Prepare 2 sets of CU holder assy. with their inserts, glue them with fiberboard, 1 set on each side.
|
2. Install 2” CU stand onto the ceiling by 2pcs PA4*30 screws
|
3. Lock CU holder assy. with 2” CU stand by 1pc M3*5 screw.
|

