Wall & Desk Sign Holder
MODEL: CU10W, CU20W,CU10D, CU20D
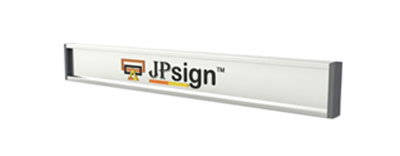
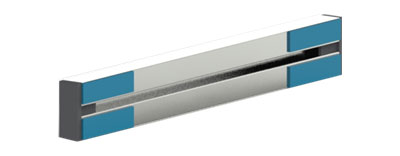
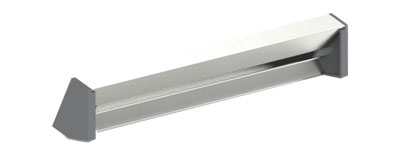
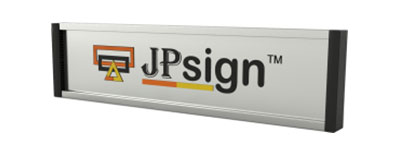
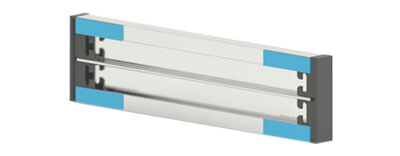
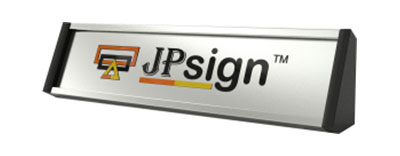
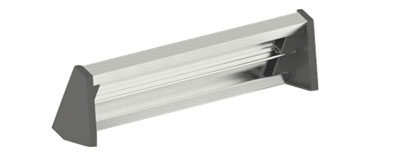
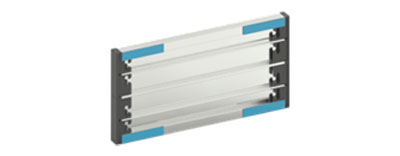
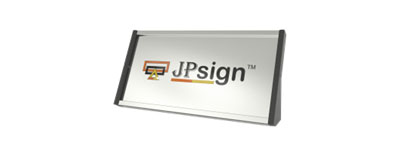
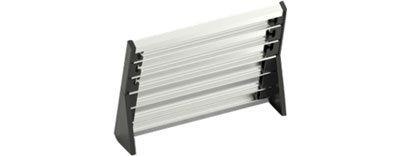
CU wall & desk signs’ components are included CU’s aluminum stands and caps. The wall caps complete the sign by closing both ends and allowing for mounting on any flat surface. The triangular desk caps are utilized to close the ends while enabling the sign to stand at the perfect angle on any desk. Both wall and desk caps can be removed for easy changes of the plate or label at any time.
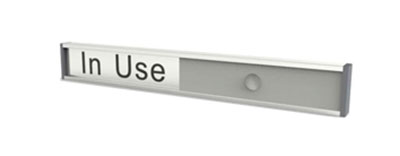
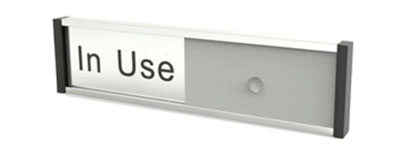
With the PVC slider, the sign can be used as the slide sign.
1” CU Wall & Desk Sign
| Part # | Insert Size | Available Lengths | |||
| Insert Height | Insert Thickness | ||||
| CU10W&CU10D | 1.0” | ≤3/40” | 5” | 8” | 10” |
| 25.4mm | ≤1.9mm | 127.0mm | 203.2mm | 254.0mm | |
| Components: 1" stand*1pcs, 1" wall cap*2pcs, 1" left desk cap*1pcs, 1" right desk cap*1pcs, adhesive tape * 2pcs | |||||
| Custom Lengths Available | |||||

2” CU Wall & Desk Sign
| Part # | Insert Size | Available Lengths | |||
| Insert Height | Insert Thickness | ||||
| CU20W&CU20D | 2.0” | ≤3/40” | 8” | 10” | 12” |
| 50.8mm | ≤1.9mm | 203.2mm | 254.0mm | 304.8mm | |
| Components: 2" stand*1pcs, 2" wall cap*2pcs,2" left desk cap*1pcs, 2" right desk cap*1pcs, adhesive tape*2pcs | |||||
| Custom Lengths Available | |||||
MODEL: CU40W, CU60W, CU40D, CU60D
4” CU Wall & Desk Sign
| Part # | Insert Size | Available Lengths | |||
| Insert Height | Insert Thickness | ||||
| CU40W&CU40D | 4.0” | ≤3/40” | 6” | 8” | 12” |
| 101.6mm | ≤1.9mm | 152.4mm | 203.2mm | 304.8mm | |
| Components: 4" stand*1pcs, 2" wall cap*4pcs, 2" left desk cap*1pcs, 2" right desk cap*1pcs, adhesive tape*4pcs | |||||
| Custom Lengths Available | |||||

6” CU Wall & Desk Sign
| Part # | Insert Size | Available Lengths | |||
| Insert Height | Insert Thickness | ||||
| CU60W&CU60D | 6.0” | ≤3/40” | 6” | 8” | 12” |
| 152.4mm | ≤1.9mm | 152.4mm | 203.2mm | 304.8mm | |
| Components: 6" stand*1pcs, 3" wall cap*4pcs, 3" left desk cap*1pcs, 3" right desk cap*1pcs, adhesive tape*4pcs | |||||
| Custom Lengths Available | |||||



Optional Wall Mounted with Screws
Fix 2pcs screws (4*30mm) & plugs on the wall with 0.12” (3.0mm) gaps, slide the insert into the stand, one wall cap clips with the screw head then install into the stand, align the groove of other wall cap to clip into the screw head of the other side, close other end of the body.
 |
|
